How to attach Pipe to your Gate
- Check your pipe and make sure it is PIP Pipe.
- Cut the pipe to the desired length as evenly as possible.
- Lay the gate down with the slider side facing down. Do not insert the slider.
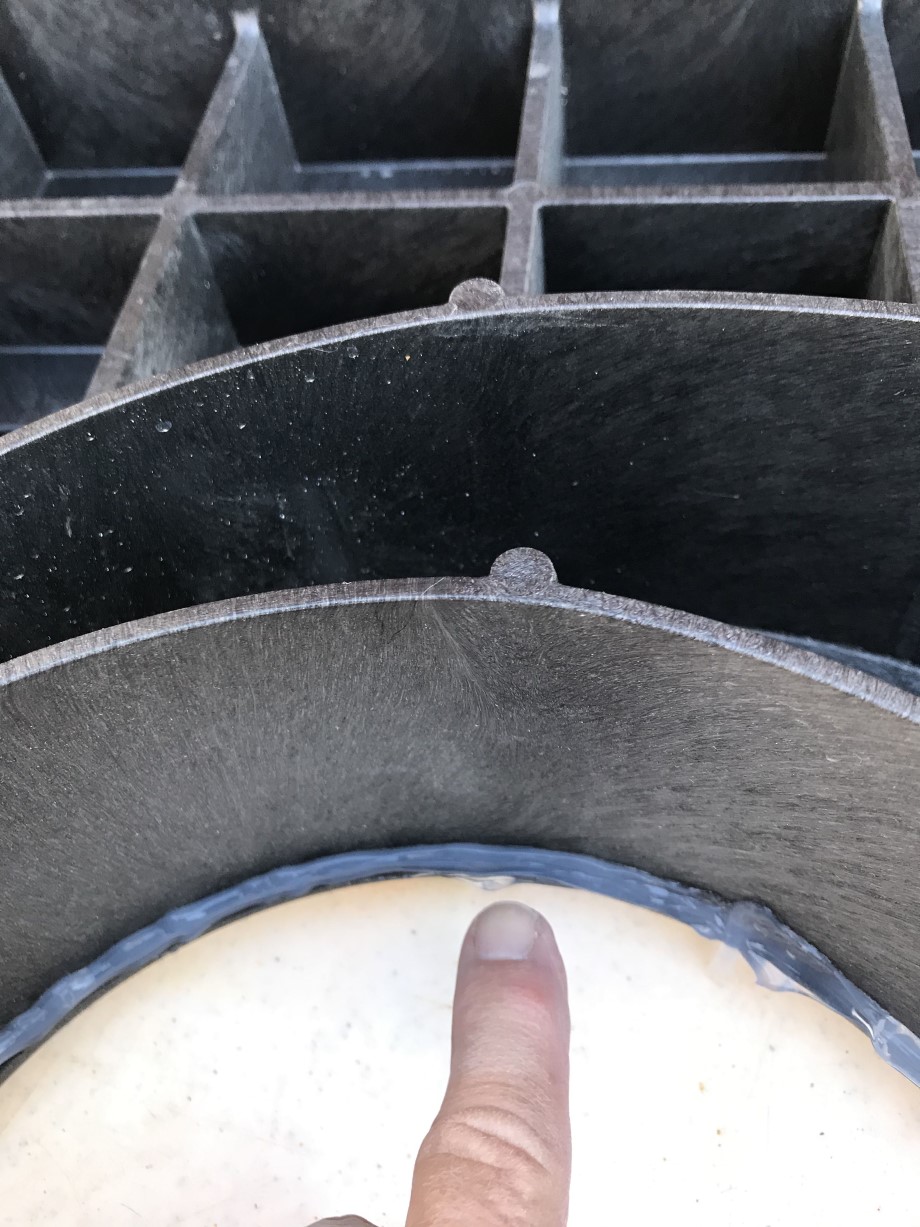
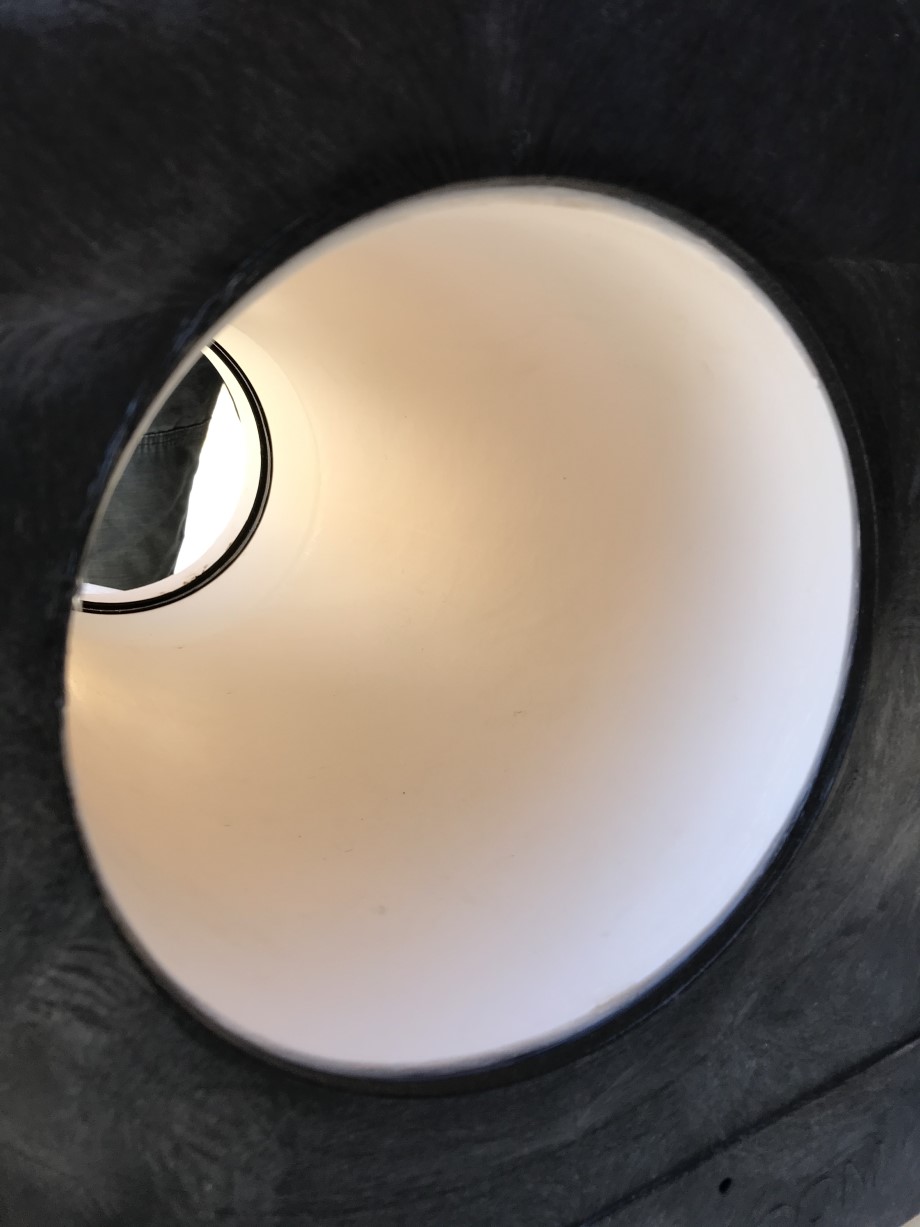
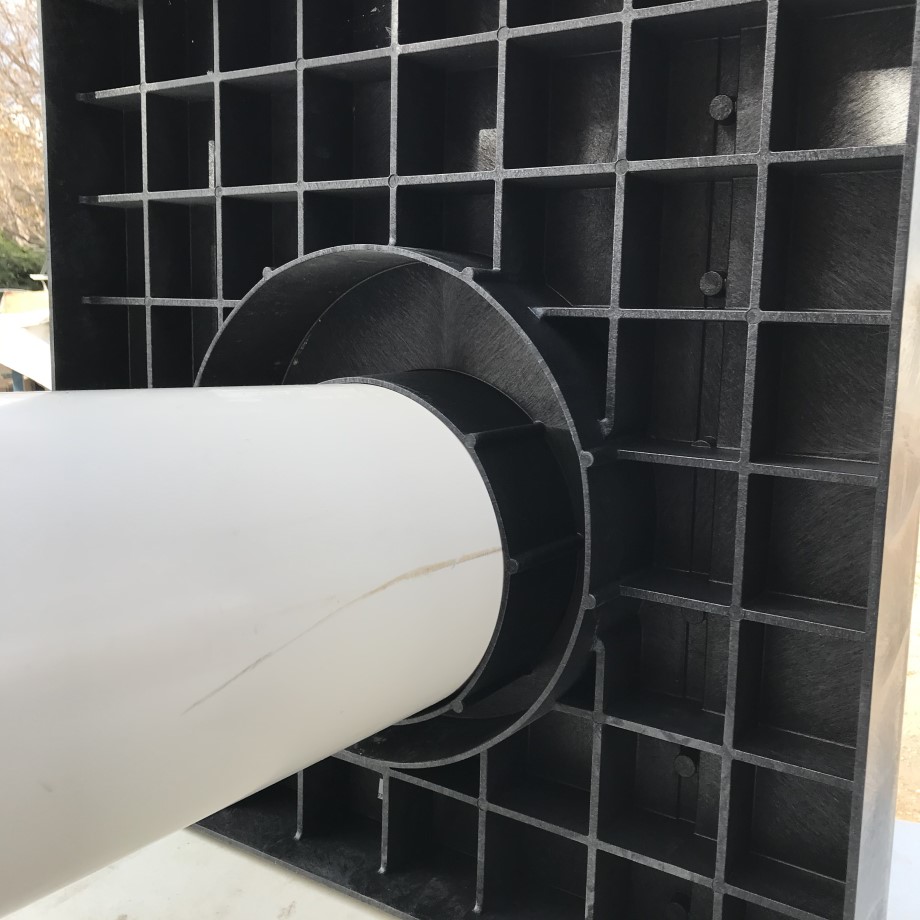
- Apply a ¼” bead of silicone around the inside throat of the gate (see pictures below).
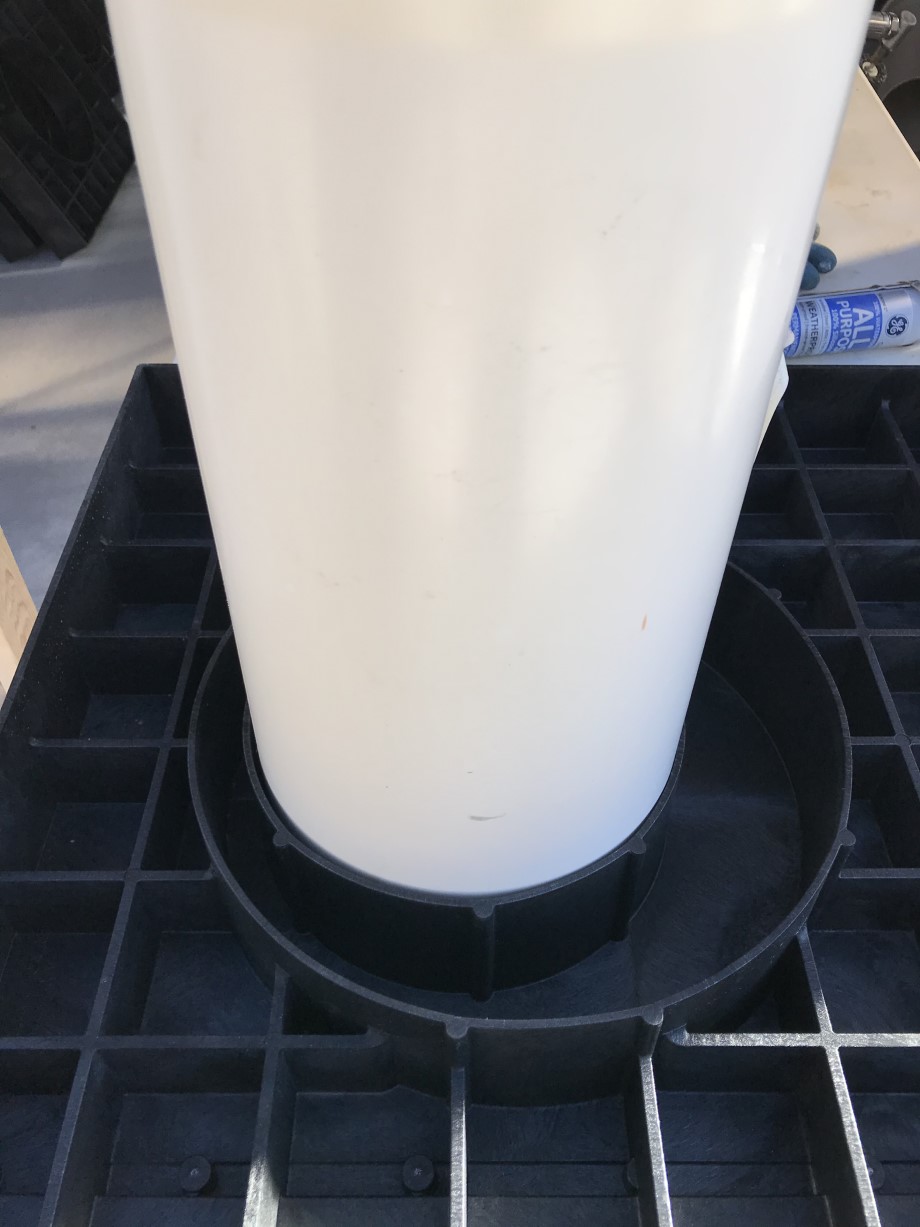
- Insert your pipe and push it all the way through the throat until it reaches the stop on the slider side.
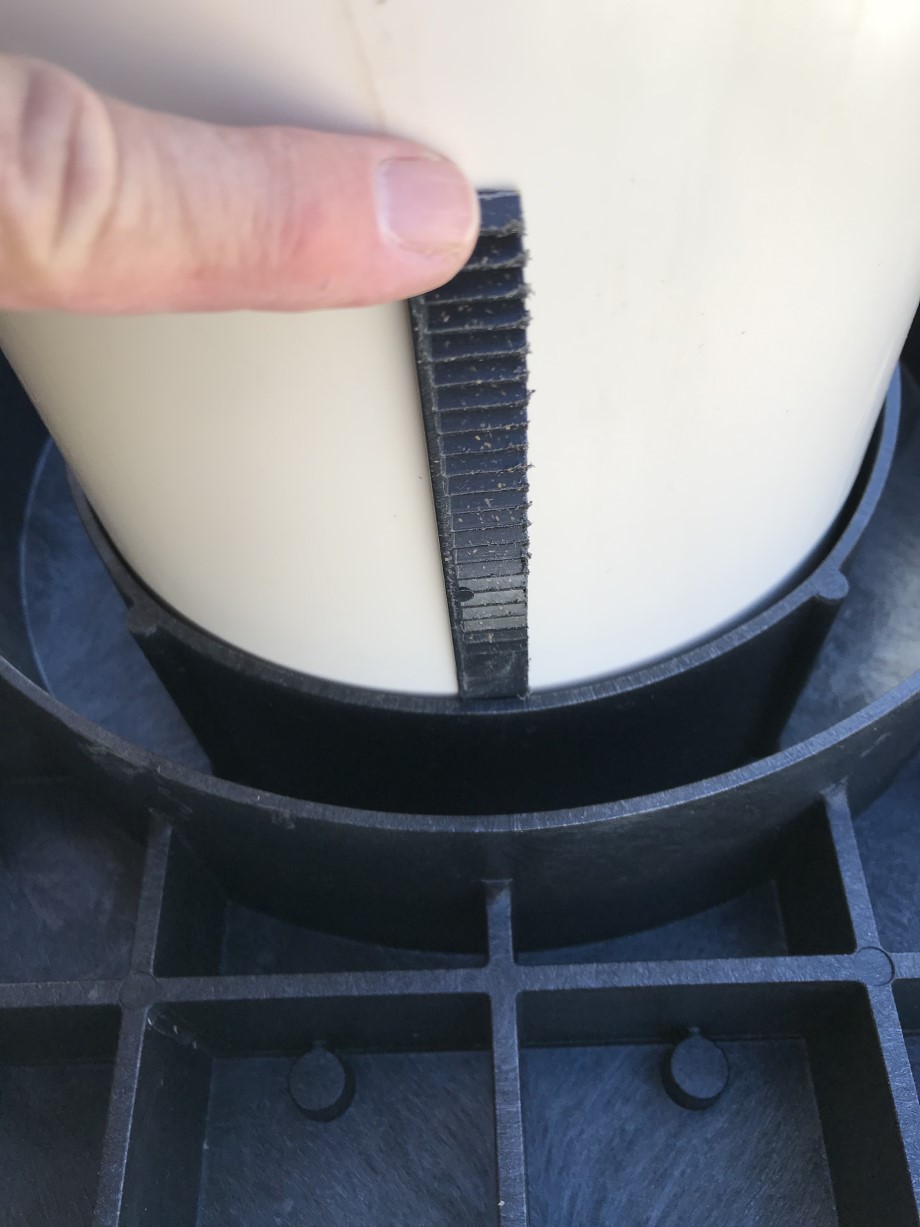
- Insert the shims with the smooth side against the pipe to create a tight fit. Don’t push the shims in so tight that they distort the shape of the pipe. Just get them snug. We suggest: 2 shims for 8” pipe, 4 shims for 12” pipe, but you may need less.
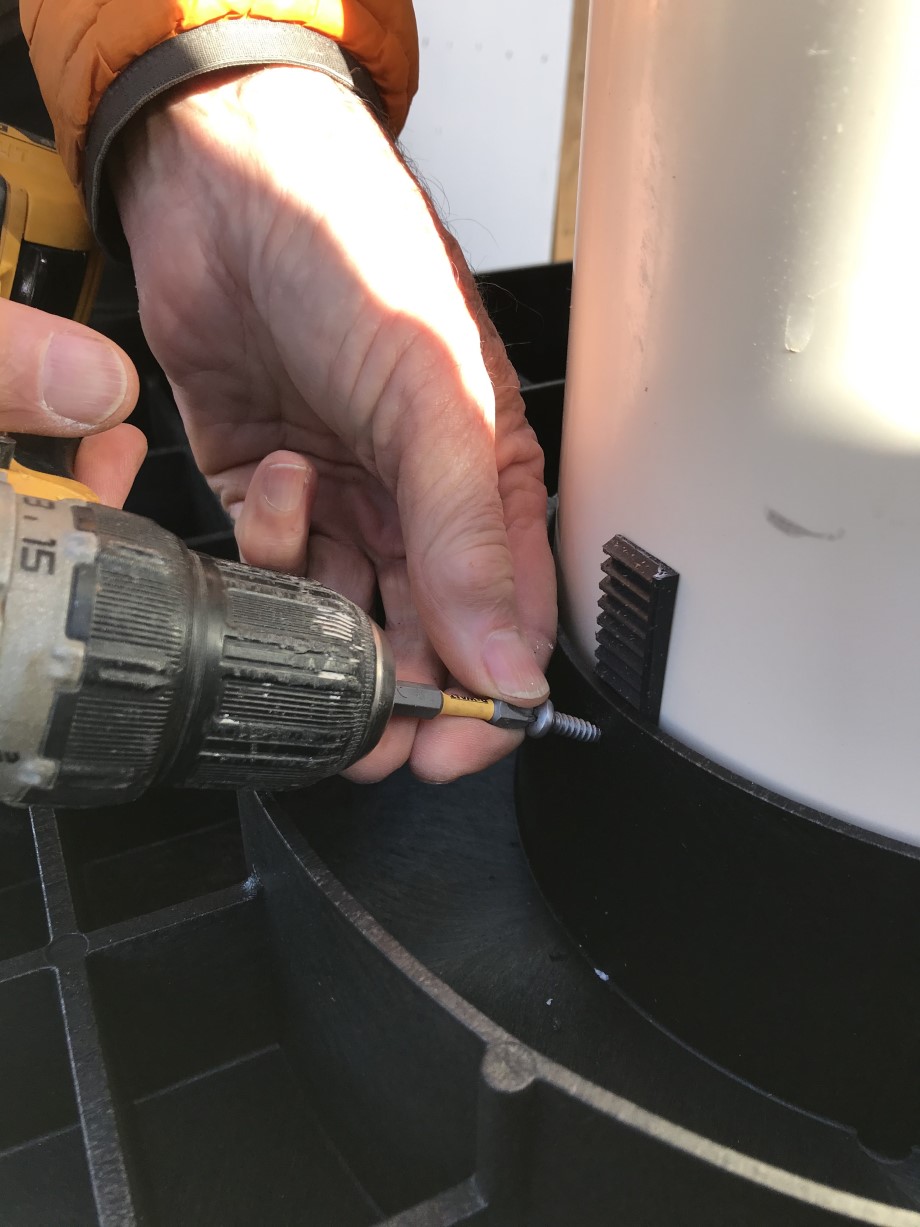
- Secure the shims and the pipe by drilling a guide hole through the throat, the shim and the pipe. Repeat until you have guide holes for all shims.
- Attach the screws through the guide holes. These are not self-tapping screws. A guide hole is required.
- Stand the gate and pipe up and wipe any excess silicone from the slider area. Check for gaps and apply silicone in any area where there is a gap between the pipe and the throat.
- Insert the slider to ensure there is no silicone in the slider guide then removed the guide and allow the silicone to dry.